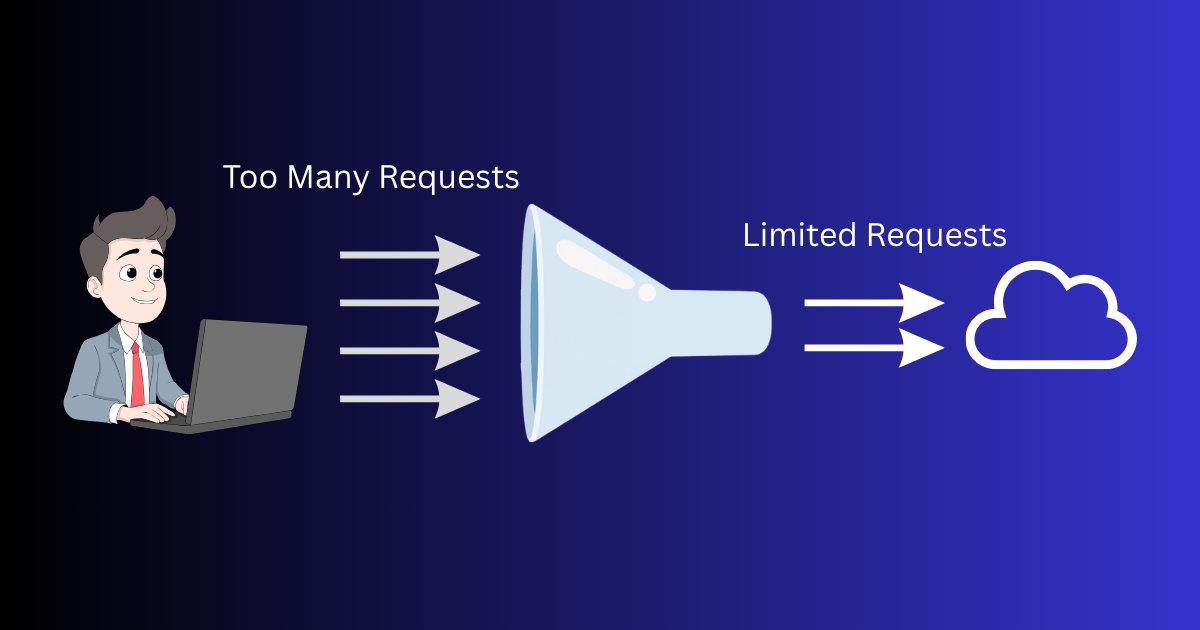
You're integrating a third-party API. Everything works in development. You deploy, traffic picks up, and suddenly your app starts throwing errors. You check the logs and see: 429 Too Many Requests. You've hit the rate limit.
Rate limiting is something every developer encounters, yet many don't fully understand until it breaks something in production. This guide explains everything you need to know.
What Is API Rate Limiting?
Rate limiting is a restriction that an API places on how many requests a client can make within a given time window. It's expressed as a quota: X requests per Y time period. For example:
- 60 requests per minute (GitHub API, unauthenticated)
- 5,000 requests per hour (GitHub API, authenticated)
- 100 requests per day (many free tier APIs)
- 1,000 requests per second (high-performance enterprise plans)
Why APIs Enforce Rate Limits
Rate limits exist for legitimate reasons:
- Prevent abuse: Stop one client from monopolising server resources or scraping entire datasets
- Ensure fairness: Guarantee that all users get a reasonable share of capacity
- Monetisation: Higher limits are a core feature of paid plans
- Protect backend infrastructure: Sudden traffic spikes can take down databases and downstream services
- DDoS protection: Rate limiting is a first line of defence against denial-of-service attacks
Common Rate Limiting Strategies
Fixed Window
The simplest approach. The counter resets at a fixed point in time — e.g., every minute at :00 seconds. If you make 60 requests between 14:00:00 and 14:00:59, you're at the limit. At 14:01:00, the counter resets.
Downside: You can make 60 requests at 14:00:59 and another 60 at 14:01:00 — 120 requests in 2 seconds, which defeats the purpose.
Sliding Window
Instead of a fixed reset point, the window slides with time. The limit applies to any rolling 60-second period. This is more accurate and prevents the burst-at-boundary problem.
Token Bucket
You have a "bucket" that fills with tokens at a steady rate. Each request costs one token. If the bucket is empty, requests are rejected or queued. The bucket has a maximum capacity (burst limit). This is the most common strategy used by major APIs.
Leaky Bucket
Similar to token bucket, but requests are processed at a steady rate regardless of when they arrive. Excess requests queue up or are dropped. This smooths out bursty traffic.
How to Read Rate Limit Headers
Most APIs communicate rate limit status via response headers. Common patterns:
X-RateLimit-Limit: 60
X-RateLimit-Remaining: 43
X-RateLimit-Reset: 1710435600Limit— your total quota for the windowRemaining— how many requests you have leftReset— Unix timestamp when the counter resets
The Retry-After header tells you how many seconds to wait:
HTTP/1.1 429 Too Many Requests
Retry-After: 30
How to Handle Rate Limits in Your Code
1. Exponential Backoff with Jitter
When you get a 429, wait before retrying. Use exponential backoff — double the wait time on each retry — and add jitter (random variation) to prevent thundering herd:
async function fetchWithRetry(url, options = {}, retries = 4) {
  for (let attempt = 0; attempt <= retries; attempt++) {
    const res = await fetch(url, options);

    if (res.status !== 429) return res;

    if (attempt === retries) throw new Error('Rate limit exceeded, giving up');

    const retryAfter = res.headers.get('Retry-After');
    const baseDelay = retryAfter
      ? parseInt(retryAfter) * 1000
      : Math.pow(2, attempt) * 1000;

    const jitter = Math.random() * 1000;
    await new Promise(resolve => setTimeout(resolve, baseDelay + jitter));
  }
}
2. Respect the Retry-After Header
Don't guess how long to wait. If the API sends a Retry-After header, use it exactly. Ignoring it and retrying immediately will just keep getting 429s and waste your quota.
3. Implement Request Queuing
For high-volume applications, use a queue to control request throughput:
// Simple rate limiter — max N requests per second
class RateLimiter {
  constructor(maxPerSecond) {
    this.queue = [];
    this.running = 0;
    this.max = maxPerSecond;
    setInterval(() => this.flush(), 1000);
  }

  add(fn) {
    return new Promise((resolve, reject) => {
      this.queue.push({ fn, resolve, reject });
    });
  }

  flush() {
    const batch = this.queue.splice(0, this.max);
    batch.forEach(({ fn, resolve, reject }) => fn().then(resolve).catch(reject));
  }
}
4. Cache Responses Aggressively
Many rate-limited calls are for the same data. Cache responses at the application level to avoid redundant API calls. Even a 60-second cache on frequently-requested data can reduce your API usage dramatically.
5. Monitor Your Usage Proactively
Log the X-RateLimit-Remaining header on every response. Set an alert when it drops below 20% of your quota. Don't wait for 429s to discover you have a usage problem.
Testing Rate Limit Handling Without Hitting Real APIs
Here's the challenge: you can't easily trigger a 429 response from a real API without actually exceeding your quota. Mock APIs solve this perfectly. With a tool like MockServer, you can create an endpoint that always returns 429 with the appropriate headers:
{
  "error": "Too Many Requests",
  "message": "Rate limit exceeded. Please retry after 30 seconds."
}
Set the status code to 429, add a custom Retry-After: 30 header, and point your retry logic at this mock. Verify that your backoff implementation works correctly — that it waits the right amount of time and eventually succeeds when you switch back to a 200 response.
Summary
- Rate limits restrict how many API requests you can make in a time window
- They exist to protect API infrastructure and ensure fair access
- A 429 response means you've exceeded your quota — always read the
Retry-Afterheader - Implement exponential backoff with jitter for retries
- Cache responses to reduce unnecessary API calls
- Test your 429 handling with a mock API before going to production
Rate limits are a fact of life when integrating third-party APIs. Handle them correctly from the start, and they'll never surprise you in production.